Top 10 Garden Care Tips: Soil Preparation
Welcome to the first installment of Blooming Vista Gardens' top 10 garden care tips! Today, we're diving deep into the foundation of any thriving garden: soil preparation. Proper soil preparation is crucial for providing your plants with the nutrients, drainage, and support they need to flourish. Neglecting this step can lead to stunted growth, disease susceptibility, and ultimately, disappointing results. So, let's explore how to get your soil ready for a bountiful harvest!
Why is Soil Preparation Important?
Think of soil as the kitchen where your plants' meals are cooked. If the kitchen is dirty, disorganized, and lacks the right ingredients, even the best chef can't create a masterpiece. Similarly, poorly prepared soil can hinder your plants' ability to absorb essential nutrients, retain moisture, and develop strong root systems.
Good soil preparation achieves several key goals:
- Improves Drainage: Overly compacted soil can lead to waterlogging, which suffocates roots. Proper preparation ensures adequate drainage, preventing root rot and other moisture-related problems.
- Enhances Aeration: Roots need oxygen to breathe! Loose, well-aerated soil allows oxygen to reach the roots, promoting healthy growth.
- Provides Essential Nutrients: Healthy soil is rich in essential nutrients like nitrogen, phosphorus, and potassium. Soil preparation often involves amending the soil with organic matter to boost its nutrient content.
- Optimizes Soil pH: Different plants thrive in different pH levels. Soil preparation allows you to adjust the pH to suit the specific needs of your plants.
- Removes Obstacles: Removing rocks, debris, and weeds ensures that plant roots can easily penetrate the soil and access nutrients.
Steps to Prepare Your Garden Soil
- Clear the Area: Remove any existing vegetation, rocks, weeds, and debris from the garden bed. This may involve digging out stubborn roots or using a hoe to clear the surface. Ensure all unwanted organic matter is removed to prevent competition for nutrients.
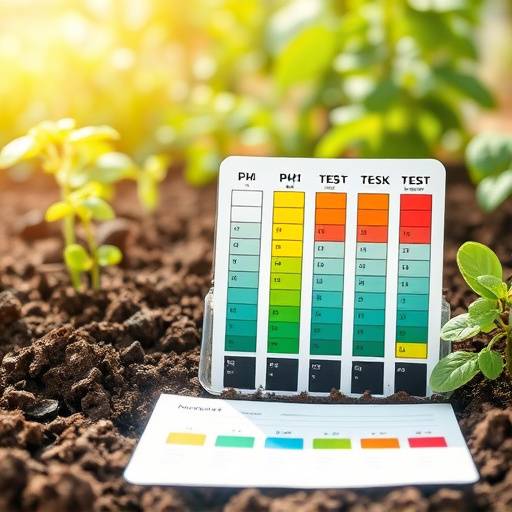
- Test Your Soil: Before making any amendments, it's crucial to understand your soil's current condition. A soil test will reveal its pH level, nutrient content, and texture. You can purchase a soil testing kit from a local garden center or send a sample to a professional soil testing lab. Blooming Vista Gardens partners with SoilSavvy Labs in Sacramento for comprehensive soil analysis and customized amendment recommendations.
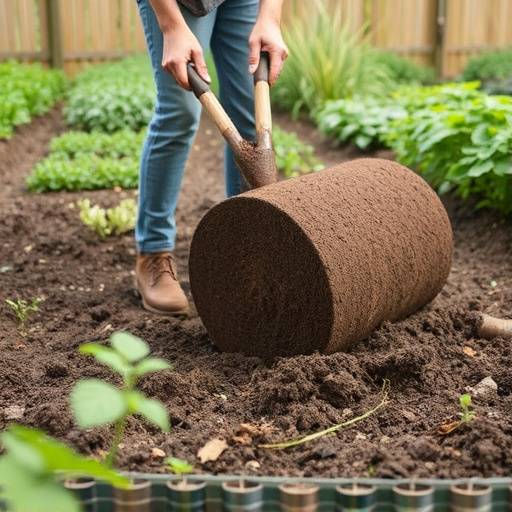
- Amend the Soil: Based on your soil test results, amend the soil with appropriate organic matter. Common amendments include compost, well-rotted manure, peat moss, and leaf mold. These materials improve soil structure, drainage, and nutrient content. Spread a layer of organic matter several inches thick over the soil surface.
- Till or Dig: Use a garden fork or tiller to incorporate the organic matter into the soil. Dig down at least 12 inches, breaking up any clumps and mixing the amendments thoroughly. Tilling can be physically demanding but is essential for improving soil structure.
- Remove Clumps and Rocks: After tilling or digging, rake the soil surface to remove any remaining clumps, rocks, or debris. This will create a smooth, even planting surface.
- Level the Bed: Use a rake to level the garden bed, ensuring that there are no low spots where water can accumulate. A level surface also makes planting and watering easier.
- Water the Soil: Lightly water the prepared soil to help it settle and retain moisture. This will also encourage the decomposition of organic matter.
- Let it Rest: Allow the prepared soil to rest for a few days or weeks before planting. This will give the amendments time to break down and release nutrients.
Examples of Soil Amendments
- Compost: A rich, dark material made from decomposed organic matter. It improves soil structure, drainage, and nutrient content.
- Well-Rotted Manure: A valuable source of nutrients and organic matter. Be sure to use well-rotted manure to avoid burning plant roots.
- Peat Moss: A lightweight material that improves drainage and water retention. However, peat moss is a non-renewable resource, so consider using alternatives like coconut coir.
- Leaf Mold: Decomposed leaves that improve soil structure and water retention. It's a great way to recycle fallen leaves!
- Sand: Improves drainage in heavy clay soils. Use coarse sand, not fine sand.
- Lime: Raises soil pH, making it more alkaline.
- Sulfur: Lowers soil pH, making it more acidic.